One Case - many purposes
One Case - many purposes
We all know that you don't just need equipment to make great recordings, but that this equipment is also very sensitive and can easily be damaged.
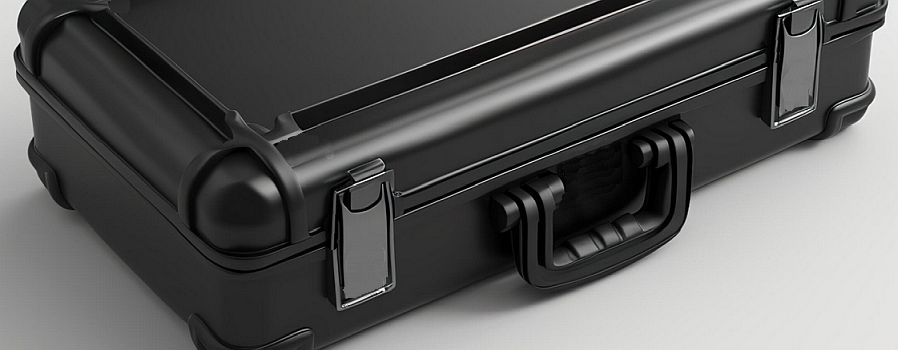
That's why we recommend packing everything you want to take with you in shockproof cases when working outdoors in the field.
Even though there are now very affordable options for fairly sturdy cases, the growing number of devices, microphones, and other accessories means that there are more and more possibilities.
But here we are talking about the “inner values” of the cases.
To prevent valuable devices from flying around inside the case, it is helpful to have foam inserts cut to size for the individual devices.
Since foam is quite inexpensive, we decided to have different foam inserts for different setups.
This also has the advantage that you can quickly see whether you have packed everything you need and whether it is in its place.
For example, if we want to travel with the TASCAM Portacapture X8, the Saramonic SR-VR Mic with the cable splice from multipin to 4 x XLR male connectors and including windshield, there is a foam insert specifically designed for this purpose.
It also has compartments for additional batteries and a USB power bank with USB cable. Behind the foam in the lid of the case, we have space for a few SD cards (in a bag that protects against static electricity!), a few spare rubber parts for the SR-VR mic's "spider", and if we need to carry a filming permit, this is a pretty good place to store it.
A tension strap is used to secure the tripod for the SR-VR Mic and the camera tripod for the X8 to the cases, and then you have everything under control and ready to go.
Now even heavy rain can't harm you, at least during transport.
However, we always play it safe and use a plastic bag made of stronger material. This is not absolutely necessary, but better safe than sorry.
For the next gig, we'll have our Zoom F8n and various microphones with us.
This will allow us to respond flexibly to changing recording situations.
With the 10 microphones and additional hardware, we can now use an ORTF-3D, an INA 5, IRT cross, OCT, DMS (also without figure of eight!), and a variant of an FOA system with four “cardioids.” There is even space for two contact microphones and their accessories.
But how can we plan to cut the foam into the right shape?
Check out this tutorial to find out!
In plain English: Take a square-gridded piece of paper. Place the foam on top of it and mark its boundaries.
Now, place the items of gear that you want to take with you on top of it and take some pictures from above.
You will then have a first draft that you will need to optimise by playing "3D Tetris" in your mind. If you know of any software that can do the same in less time, please let us know!!!!
Keep an eye on the thickness of the foam between each part of your gear. Even if two parts are lying close together, the movement of the case may cause them to move slightly. This could result in scratches or even serious damage.
Anyway! For a more detailed description and some more tips and tricks, please check out THIS tutorial.
You should also read:
Hand cases
Hand cases Hand cases are very useful for protecting your gear against shocks, impacts, dust and rain. They are available in a variety of sizes and colors from a range of manufacturers. We use them wherever it makes sense. Sometimes our backpacks are full of…
Continue reading...